6 Icons in Under 60 Seconds
Iconography is essential to how we absorb information. Icons help us use our devices, navigate websites, and even stay safe on the road. They allow us to illustrate complex and abstract concepts that would, most likely, take a few sentences to describe.
At Online Optimism, we’re suckers for good icons. Our Design Department has actually spent a little time creating an icon library for our materials. In that process, we’ve come across some useful tips and shortcuts to speed up the design process.
We’ve put together a few quick Adobe Illustrator CC tutorials to create 6 icons in under 60 seconds for anyone thinking about making their brand stand out. Make sure to add your own twist to your icons and make them truly unique.
Heart (Method 1)
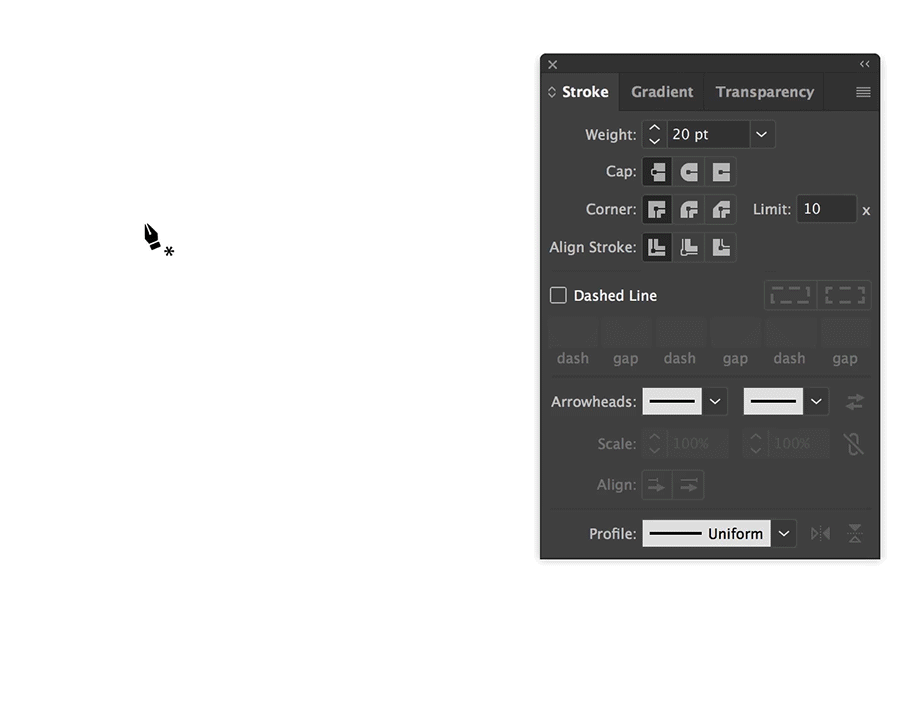
- Select the pen tool and draw a V shape. Make sure your strokes are leveled and at the same angle by watching the smart guide prompts and holding the Shift key.
- Select round caps on the Strokes Palette.
- Increase the stroke weight until it looks like a heart.
You can make your heart more rounded by selecting the anchor points on both ends and adjusting their bezier handles.
Heart (Method 2)
- Make a rectangle with the Rectangle Tool
- Select it with the Direct Selection Tool and round out the corners as much as you can by dragging in the Live Corners widget displayed next to the corner
- Duplicate the shape and rotate it by 90º and align both to intersect at the center
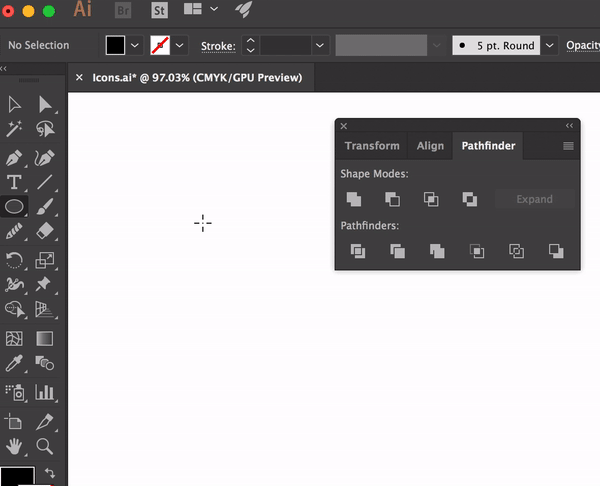
- Keep both selected and apply the Divide Pathfinder
- Delete the excess areas
- Rotate the group by 45º
- Merge the group with the Pathfinder
Envelope
- Make a rectangle.
- To create the flap, select the Pen Tool and draw a “V” from the top-left corner through the middle of the rectangle and to the top-right corner.
- Increase the weight of your stroke until it looks nice and balanced.
- Round your envelope by selecting the rectangle with the Direct Selection Tool and dragging the Live Corners Widgets inwards.
- Turn your stoke into a shape by selecting it and navigating to Object > Expand….
- Open the Pathfinder Palette, select both shapes, and click on the Minus-Front shape mode to delete the outline of the flap.
Gear
- Make a 10-point star using the Star Tool. Use the up and down arrow keys to increase/decrease the number of points, and hold down the Ctrl/Command key to adjust the length of the points.
- Create a circle using the Ellipse Tool and place it over the star.
- Select both shapes and select the Intersect shape mode from the Pathfinder.
- Create another ellipse, place it over the shape, and combine both with the Merge pathfinder.
- Create a smaller ellipse,place it over the gear shape, and select the Minus-Front shape mode from the Pathfinder.
- Make another ellipse and place it within the pin shape.
- Select both shapes and select the Minus Front shape mode from the Pathfinder.
Location Pin
- Make a circle using the Ellipse Tool and set a fill.
- Use the Direct Selection Tool to select the circle’s bottom anchor point.
- Convert the anchor point to a corner.
- Drag down the anchor point.
- Make another ellipse and place it within the pin shape.
- Select both shapes and select the Minus Front shape mode from the Pathfinder.
Phone
- Make a large circle with the Ellipse Tool.
- Make 2 smaller circles of the same size, and place one in the inner-top and another in the inner-right.
- Select all the shapes and rotate them 45º, counterclockwise.
- Make another circle from the middle of the larger circle and have it intersect the middle of the two smaller circles.
- Make a pentagon with the Polygon Tool that fits within the third circle. You can adjust the number of sides of the polygon by pressing the up and down keys while drawing it.
- Select all of the shapes, select the Shape Builder Tool (Shift+M), and click and drag through the intersecting areas that make up the phone shape.
- Delete the other intersecting areas by holding down the Alt/Option key and clicking and dragging through them.
- Rotate the phone icon 35º, counterclockwise.
At Online Optimism, we value beautiful and efficient design. Whether we’re designing for ourselves or a client, we research and create workflows to maximize our productivity. Need a set of icons for your brand? Contact Online Optimism today!